Showing posts with label wet n wild. Show all posts

11.18.2012

electro eyes // a review+tutorial

Today I bring you the Wet n Wild Idol Eyes Creme Shadow. I received the colors 'Graphite' (left) and 'Electro' (right) to review.
These retail for $1.99 and I must say they are totally worth the investing in. They glide onto the skin smooth and creamy, but will crease like crazy if you don't set them with a powder eyeshadow. That's really my only complaint! They are pigmented, smooth, and last as long as you need them to if you set them with eyeshadow.
All the shades in the line are frosty (from what I hear), and aside from these two colors I have two other ones, in "Pixie" and "Techno".
They have no fragrance whatsoever and are extremely light on the eyes. All in all an awesome product :)
From left-to-right: Electro, Graphite, and Pixie.
Here is a tutorial using "Electro". I had so much fun with this because I rarely use blue shadows and I don't think I've ever done a tutorial with blues, so enjooooy!

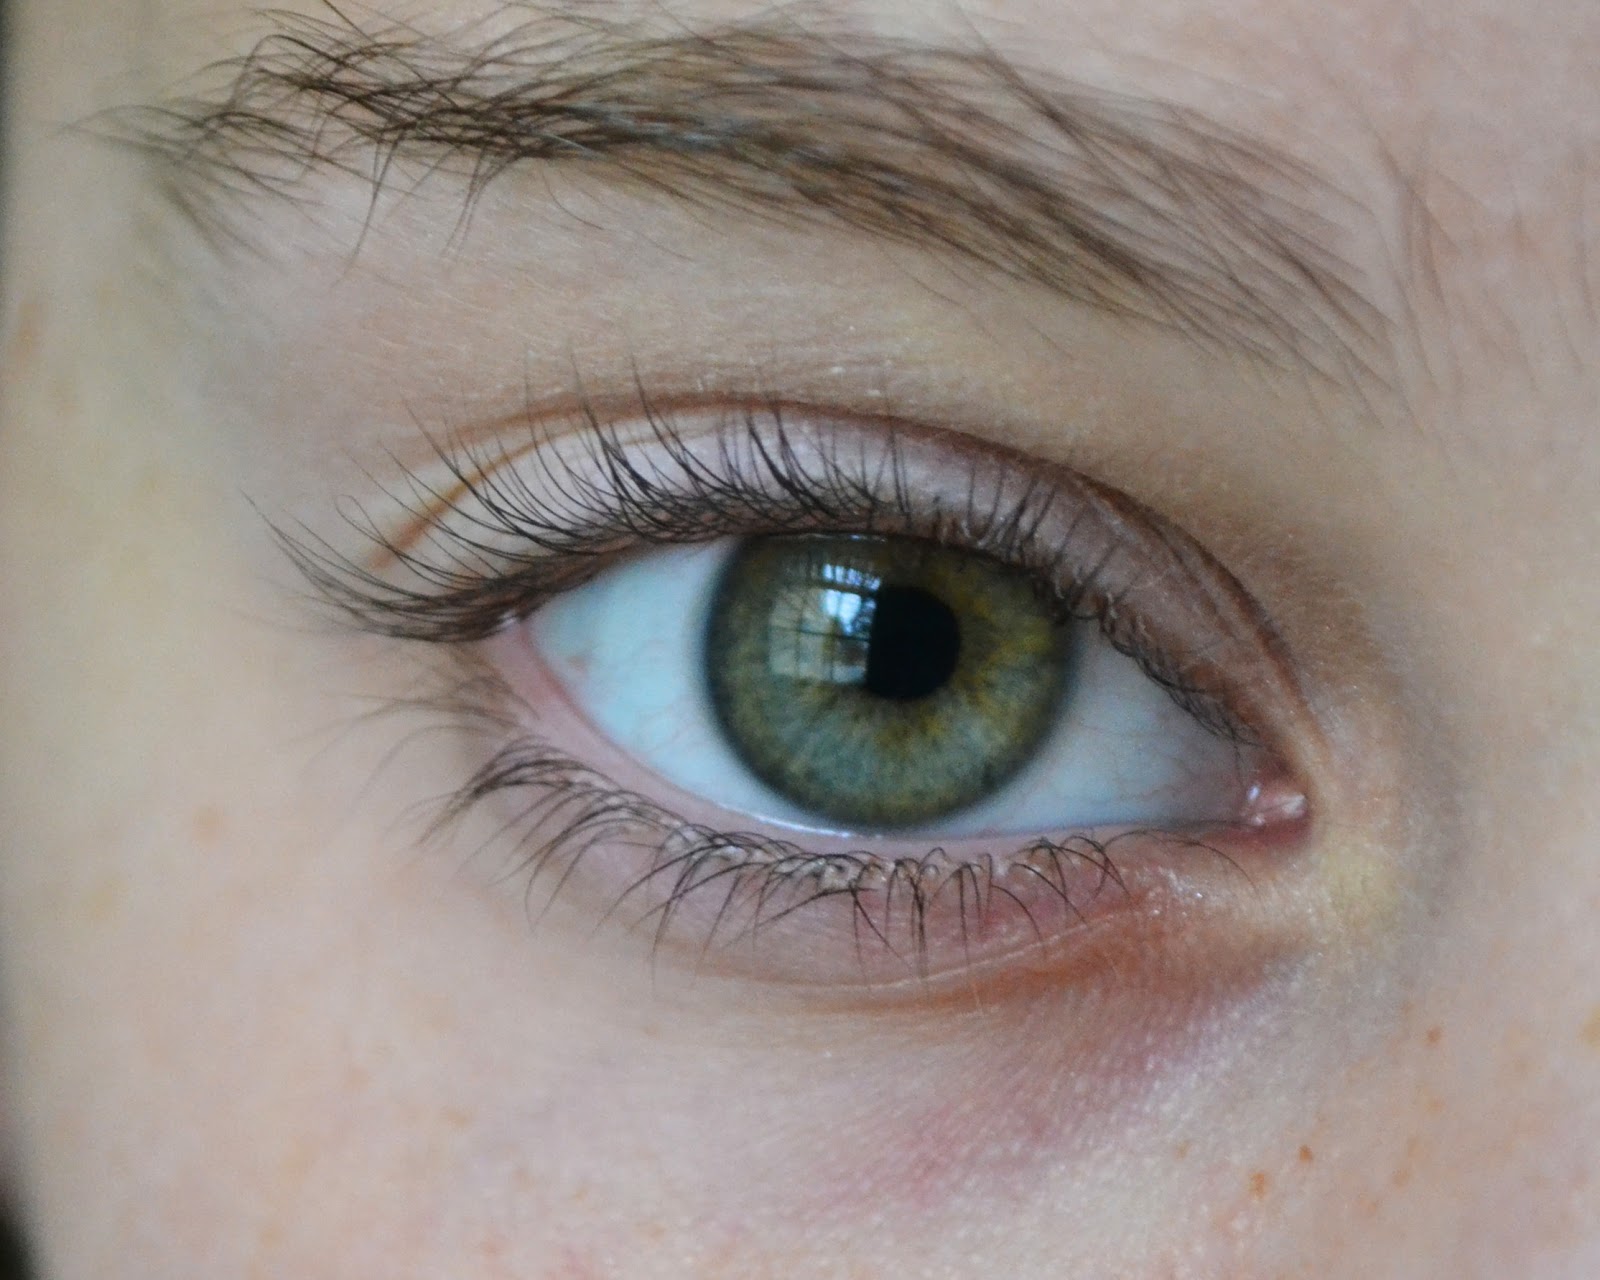
Step 1: Prime your eyelids. I'm using the original UD Primer Potion.

Step 2: Smudge "Electro" or any other blue cream shadow that you have onto your upper lashline and bring it about halfway into your lower lashline. Don't be too careful, just blend it a little if it's messy. Wing it out slightly, not too far.

 Step 3: Set the cream shadow with a blue powder shadow. This one is from the Coastal Scents 88 Original palette.

Step 4: Set the cream shadow on the lower lashline with a darker blue. This shadow also comes from the Coastal Scents palette

Step 5: Let's start adding warmth to this look! Smudge a copper shadow on the remaining half of your lower lashline.

Step 6: Apply a light shimmery color to your inner corner. This one is from the Physicians Formula Shimmer Strip palette for green eyes.

 Step 7: Draw a thin line of copper eyeliner on your upper lashline. Let it follow the wing of the shadow, but not all the way out.

Step 8: Line your waterline with that same copper eyeliner. This one is by Wet n Wild in 'Bronze'.

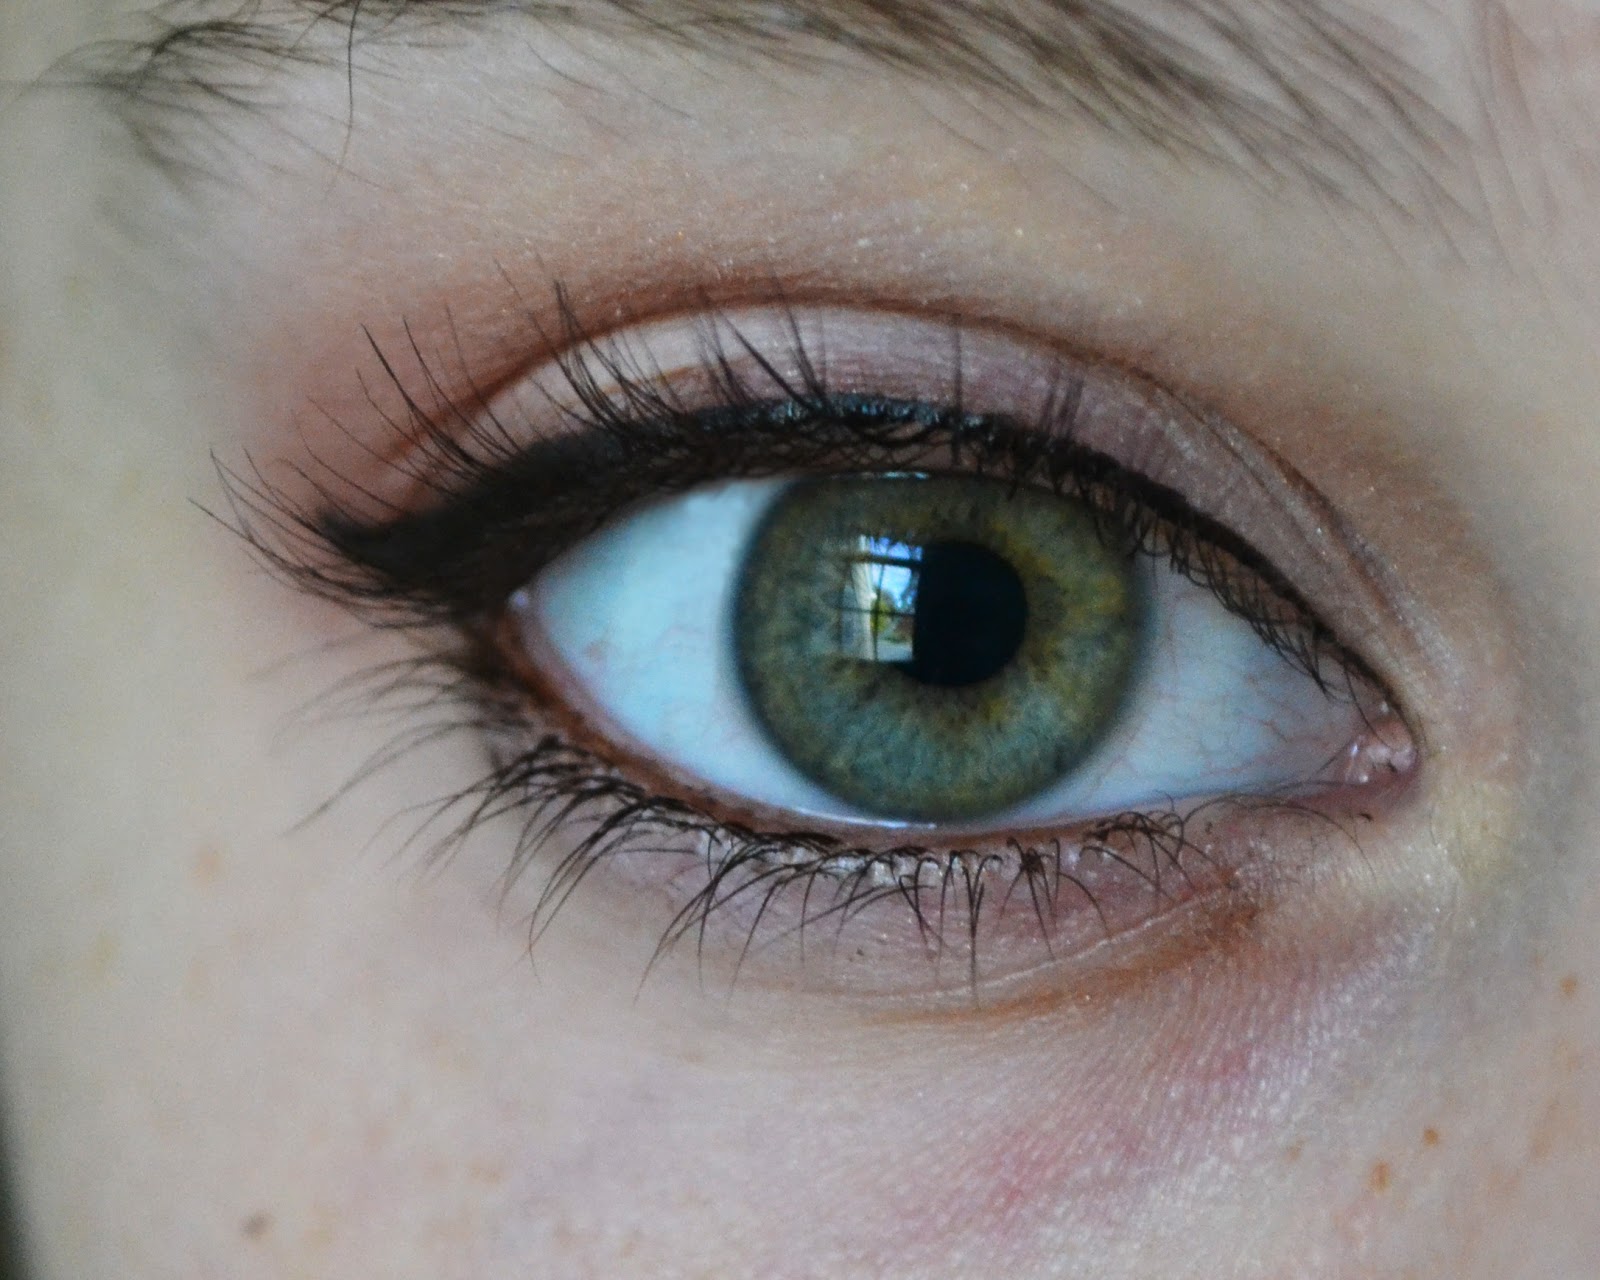
Step 9: Add mascara and guess what? You're done with ze eyes! (The mascara I used was Covergirl's LashPerfection in Blackest Black.)


Keep the rest of the face pretty neutral. After I did my foundation I actually used Milani's eyeshadow in 'Coffee Shop' for blush/contouring. It's a warm burgundy-rose color that's pretty dark so I used a light hand and applied it to the sides of my cheeks as well as my temples. For lips I just used NYX's xtreme lip creme in 'natural'.
Zat is it! (In case you couldn't tell, I was going for a French accent there)

Any requests for future tutorials? Leave a comment and I'll throw something together :)
xo,
hannah

10.23.2012

pretty in pink // a product review+tutorial

Wet n Wild's Color Icon Blusher in Pearlescent Pink has been one of my favorite blushes for a long time. I know I mentioned it a while back in one of my ancient "favorites" posts.

Wet n Wild Color Icon Blusher in 831E Pearlescent Pink.
Comes with 0.14 oz. Retails for $2.99 
As you can see, it has a nice peachy-pink color. The texture of this blush is smooth and rich, one of my all-time favorite powder blush textures. It doesn't have a whole lot of fallout and is best applied with a fluffy blush brush. But BE CAREFUL! This is one of the most pigmented blushes out there, if you are too generous while applying you will probably end up looking like you got an odd sunburn.
I really like the finish of this blush, because it's mostly matte, but has the slightest sheen to it. If applied correctly, it looks pretty natural.
The staying power of this varies. If I decide to wear a liquid foundation, it stays longer on top of that than my powder foundation. However, I get a solid 7 hours out of either, and after that it just depends.

Now, I have a tutorial. This tutorial includes my new favorite way to wear "Pearlescent Pink": on my eyes!

>>Chocolate-Covered Strawberries-A Tutorial<<

 Step 1: Prime prime prime your lids!


 Step 2: Sweep a matte cream shadow all over your lid.
Step 3: Apply a satiny pink into your crease. I (of course) used Pearlescent Pink :)

Step 4: smudge a brown pencil eyeliner into your top lashline

 Step 5: Blend out the eyeliner with a brown shadow. This gives a slight smoke-y effect

Step 6: Blend a slightly deeper pink into your outer crease

Step 7: Liner your waterline with brown eyeliner

Step 8: Apply dark brown liquid liner, winging it out

Step 9: Apply several coats of mascara

Step 10: Apply a highlight to your inner corner and you're done with the eyes!

Step 11: Go through your usual foundation routine and then sweep the same pink shade you used in your crease to your cheeks. Finish off with a tinted balm or lipstain.

Allllllll donee!

xo,
hannah

9.18.2012

define your eye || gel eyeliner review+tutorial

No, I have not fallen off the face of the earth. I have been overloaded with homework and tennis. I guess it's a typical "beginning-of-the-school-year" thing, but to be honest, it's quite annoying. Anywho, I'm so glad I'm finally back and writing a post.

Today I'm going to be reviewing wet n wild's creme eyeliner in 886 Black.


In general, I like this eyeliner. Some people have compared it to MAC fluidline, but since I've never gotten my hands on that product I can't tell you you how it compares.
It's very black, and it definitely defines your eye nicely, but.... I don't know. It seems to dry out somewhat quickly.
It lasts all day, including through 5 hours of playing sweaty tennis matches. Since my eye isn't necessarily oily it didn't slide around at all.
It retails for $3.99 and comes with .13oz of product PLUS an angled eyeliner brush.

So here are the overall pros and cons:

Pros:

-Very black
-Stays for a solid 12 hours
-Sweat-proof ;)
-Easy to work with
-No funky scent
-VERY reasonably priced

Cons:

-Product dries out in pot pretty quickly
-Doesn't come in more colors


Here's a quick look that brightens and defines the eye using this eyeliner:

As always, prime your lids first. Then sweep a light cream-white eyeshadow all over your lid up to your brow-bone.

Next, clean your waterline with a q-tip. This prepares it for eyeliner and gets rid of all the oils, which makes the liner last longer. Line your waterline lightly with white eyeliner


Brush a medium-matte shadow into the outer half of your crease.


Smudge a shimmery brick red/burgundy eyeshadow onto your upper and lower lashlines.

                                                              
With the same white eyeliner you used to line your waterline, highlight the inner-corner of your eye.


Line your upper lashline with black creme liner, winging it out slightly. Then apply mascara and you're done!


Hope you guys liked this! Hopefully once the highschool tennis season slows down I'll be able to post more :)

xo,
hannah

8.17.2012

glamorous nails // a product review+important giveaway announcement!!!

Lately I've been kind of obsessed with these Wet n Wild MegaLast Nail Colors. I mean, who doesn't love gorgeous nail polish?

from left-to-right: Private Viewing, Bite the Bullet, Candy-licious, I need a Refresh-Mint

Candy-licious

Private Viewing

I Need a Refresh-Mint

Bite the Bullet


My favorite out of the bunch is without a doubt "I Need a Refresh-Mint". It's the perfect tiffany-blue/aqua color and the first light blue that I actually like the look of on my nails.
The formula of these nail polishes are super creamy, but the opacity definitely varies.
For "Candy-licious", I could do two coats (maybe even get away with one) and be good to go. But "Private Viewing" demanded 3-4. "I Need a Refresh-Mint" and "Bite the Bullet" called for your average 2-3.

Candy-licious:
It's a warm hot pink-ish salmon-ish color. Definitely very unique and by far the most opaque in the bunch. It really stands out on your nails!

I Need a Refresh-Mint:
Like I said before, it's pretty much the perfect tiffany-blue/mint/light aqua color. Don't know how else to describe it, haha! It's GORGEOUS!!! I've been wearing it 100% nonstop for the past 2 weeks!

Private Viewing:
I was surprised with how much I liked this color. In some light it looks like more of a light beige-brown color, and in other lights it appears more peach-y. Very interesting :)

Bite the Bullet:
This color is sort of a gray-sh violet/lavender. It's pretty, but doesn't work well with my skin tone. I think it's a bit too dark for me. I usually gravitate towards lighter colors because I am extremely fair-skinned.

I was really impressed by how long these polishes lasted. On average, they lasted a good 6-7 day without chipping. Um, how amazing is that?!?! Being a lazy person, I only like to paint my nails once a week/every two weeks. Now I have an excuse to!

I would rate these polishes 5 out of 5 stars. I love the formula, how long it lasts, and (most of) the colors.

Also, about the important announcement:
Stephanie, who won the blog design, is passing it on to someone else because she is unfortunately leaving blogger. So that means we have to pick a new winner! The winner is.....


Bri from Diamonds and Pearls! Congrats Bri! Please email me :)
xo,
hannah


8.07.2012

2 in 1 || review+tutorials

I was so excited to start using the Wet n Wild 8-Pan Comfort Zone eyeshadow palette! I had been eyeing it at my local drugstores for a while, and when I discovered it was packed in the box with the other Wet n Wild products I was kind of pumped (to say the least).


retails for $4.99

without flash
 All swatches were made without a primer.
with flash
As you can see in the photos above, all the shadows in this palette contain shimmer, some more than others. However, it's not too overpowering, so I can use them easily for every-day looks. The shadows are what I would say as "buttery" as you can get for a powder product. Extremely soft, but, well, buttery and smooth. 
With a soft texture like they have, they do have some fallout, but not to the point where I can't work with them. All I have to do after creating a look is take a q-tip with a bit of makeup remover and swipe it under my eye.
I find this palette to be very versatile. You can create dozens of different looks that can be both dramatic and natural. The colors are gorgeous as well as useful. As you can see, you have your basic cream-colored highlight shade, a nice copper-y color, and several different options for darker colors. You can use them as liners or give your crease extra depth!

Here are two looks I pulled together with this palette. One is natural, and one is much more dramatic. Hope you like them!
1) Sweep the light cream color all over your lid.
2) Apply the Eyelid color from the brown side of the palette on the outer half of your lid.
3) Softly line your eye with the dark brown Defining shadow
4) Line your waterline with a copper pencil liner
5) Highlight your inner corner with the other "browbone" shade
6) Apply mascara and you're done!


And on to the dramatic look:
1) Sweep the copper crease color into your crease
2) Pack on the bright green lid color
3) Line your top lashline with the dark green crease color and wing it out slightly
4) Smudge the copper crease color into your lower lashline
5) Pat the cream Browbone color onto your inner corner
6) Apply a few coats of mascara and line your waterline with brown and viola! Finished!


I hope you guys enjoyed these tutorials+product review!
Which look is your favorite? What other ones would you create if you had this palette?

xo,
hannah