Showing posts with label beauty. Show all posts

2.13.2013

everyday // a makeup tutorial

Despite the many tutorials I post on this blog, I really only use them for special occasions. I have not yet shown you my simple, everyday makeup. It's nothing special-as I said, it's pretty simple. But I think it will look nice on anyone and I'm excited to share it with you!

Products Used:
Tarte Amazonian Clay Waterproof Cream Eyeshadow in Seashell Pink
M•A•C Eyeshadow single in All That Glitters
Wet n Wild Mega Liner Liquid Liner in Black
Wet n Wild Idol Eyes Creme Shadow in Pixie
Wet n Wild Mega Volume Mascara
Maybelline Mega Plush Mascara
L.A. Colors Auto Eyeliner Pencil in Black/Brown
Wet n Wild Cover All Liquid Concealer Wand in Fair
Maybelline Dream Mousse Blush in Soft Plum (discontinued)

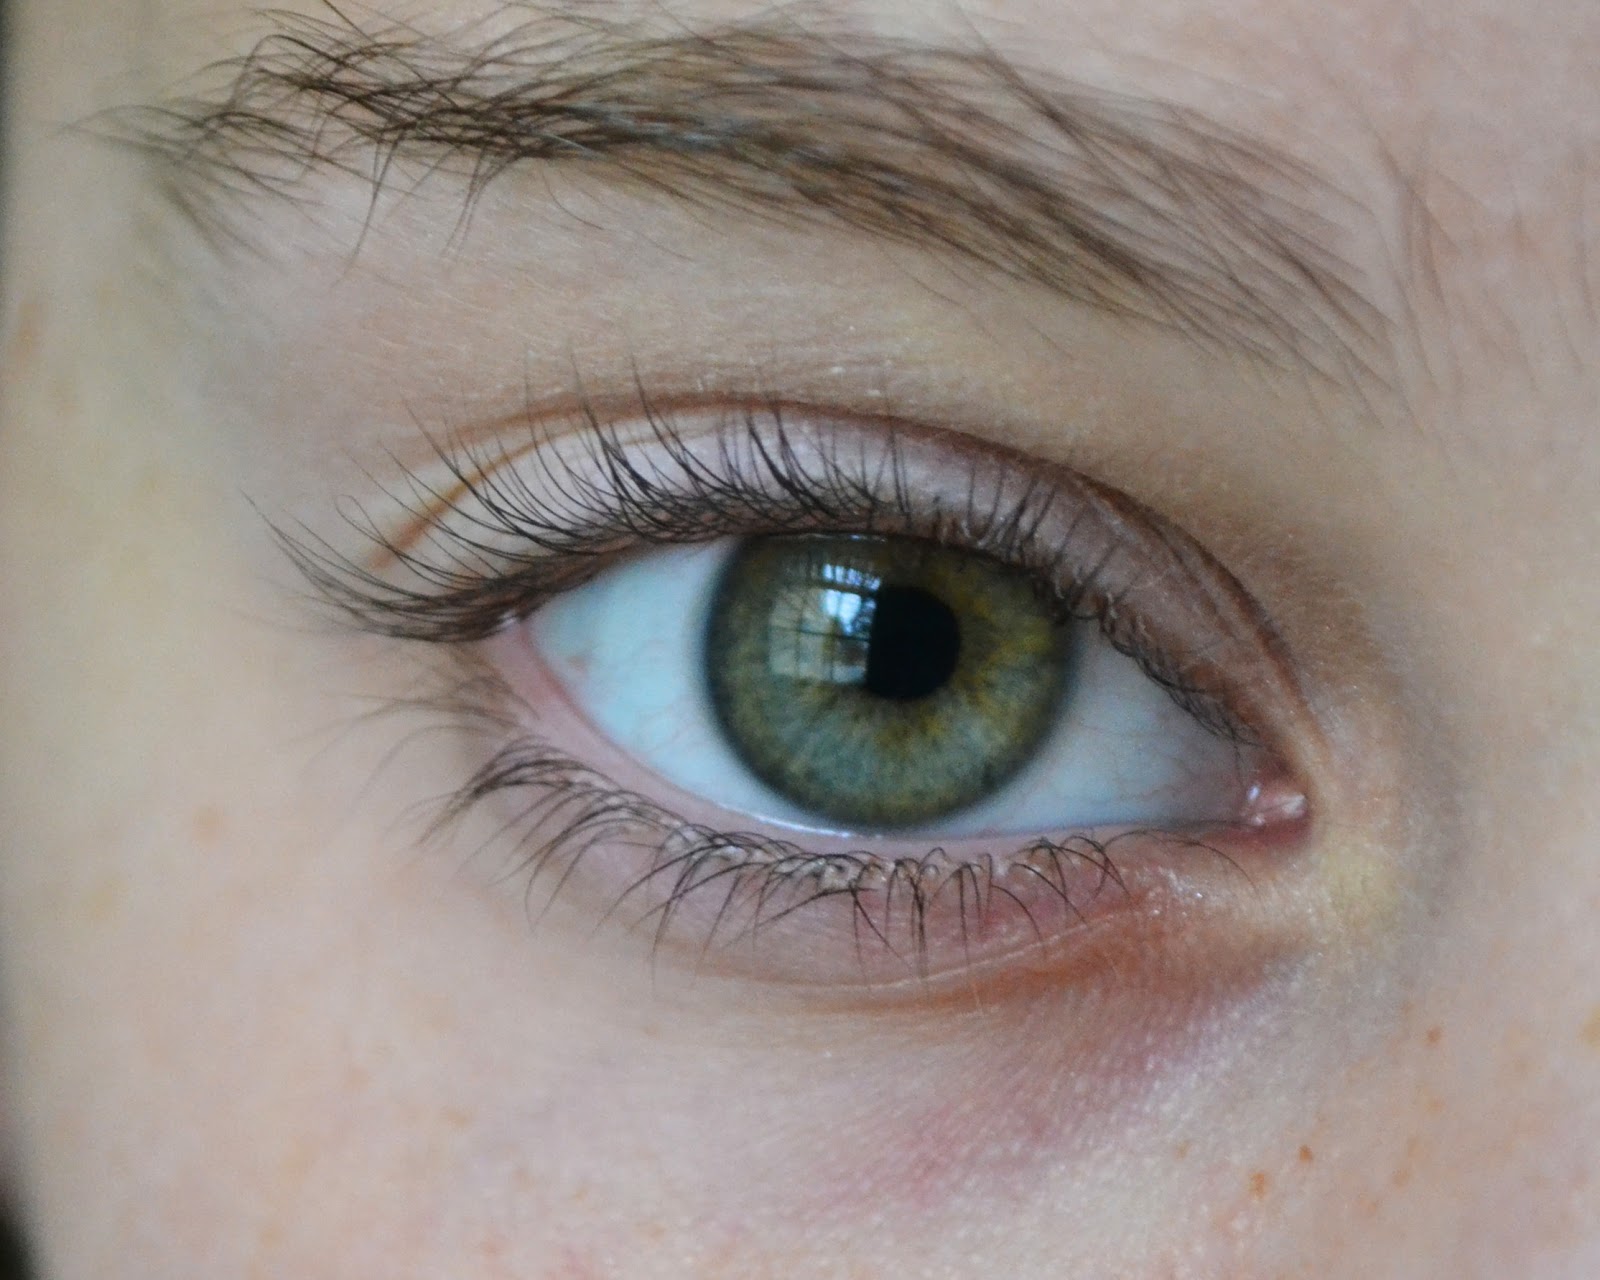
Alrighty, start off with a clean face!


First, I use a cream eyeshadow to prime my lids. If I'm in a hurry, I just slap this on my eyes, throw on some mascara and go, but I'll show you the long version ;) I really like this shadow because it's a pale pink-y color (though it looks orange-y here) and really complements my green eyes.

Next, I'll set that cream shadow with All That Glitters.


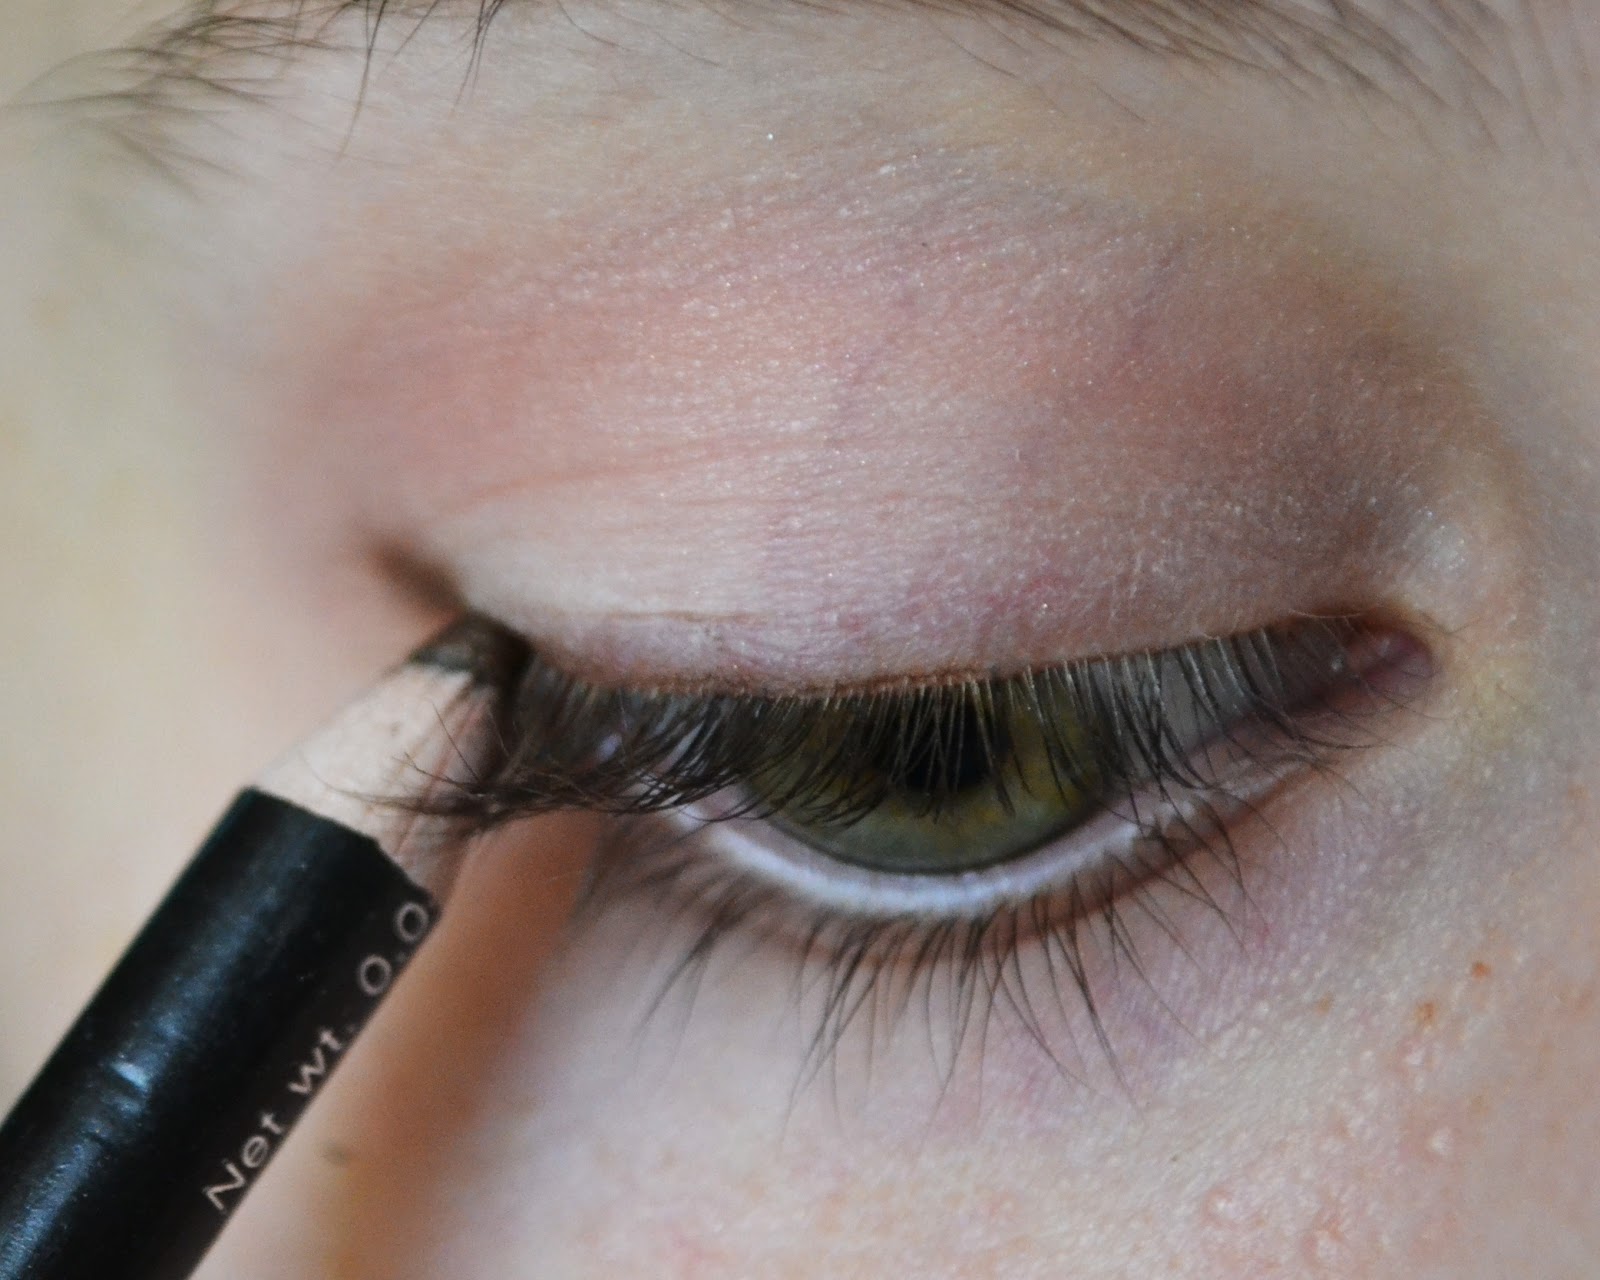
Then, using either a liquid or gel liner, I line my top lid. Typically I'll wing it out so it adds a little definition to my eyes.
Highlighting comes next! I can just dab a little highlight into my inner tear duct area and it helps brighten up my sleepy morning-eyes ;)
I actually use two mascaras. I'll start out with the Maybelline one to give length, then I'll build up volume with the wet n wild one.
Next come my neglected-for-much-too-long eyebrows. I never used to do my brows, but I find it really helps finish the look, especially when I'm wearing pretty minimal makeup. I start by combing them out...
...then I'll use a pretty dark pencil to lightly fill them in. Then I'll comb over them again to shape them.

Gorgeous, right? ;)

I'll finish off my face with concealer and a cream blush.


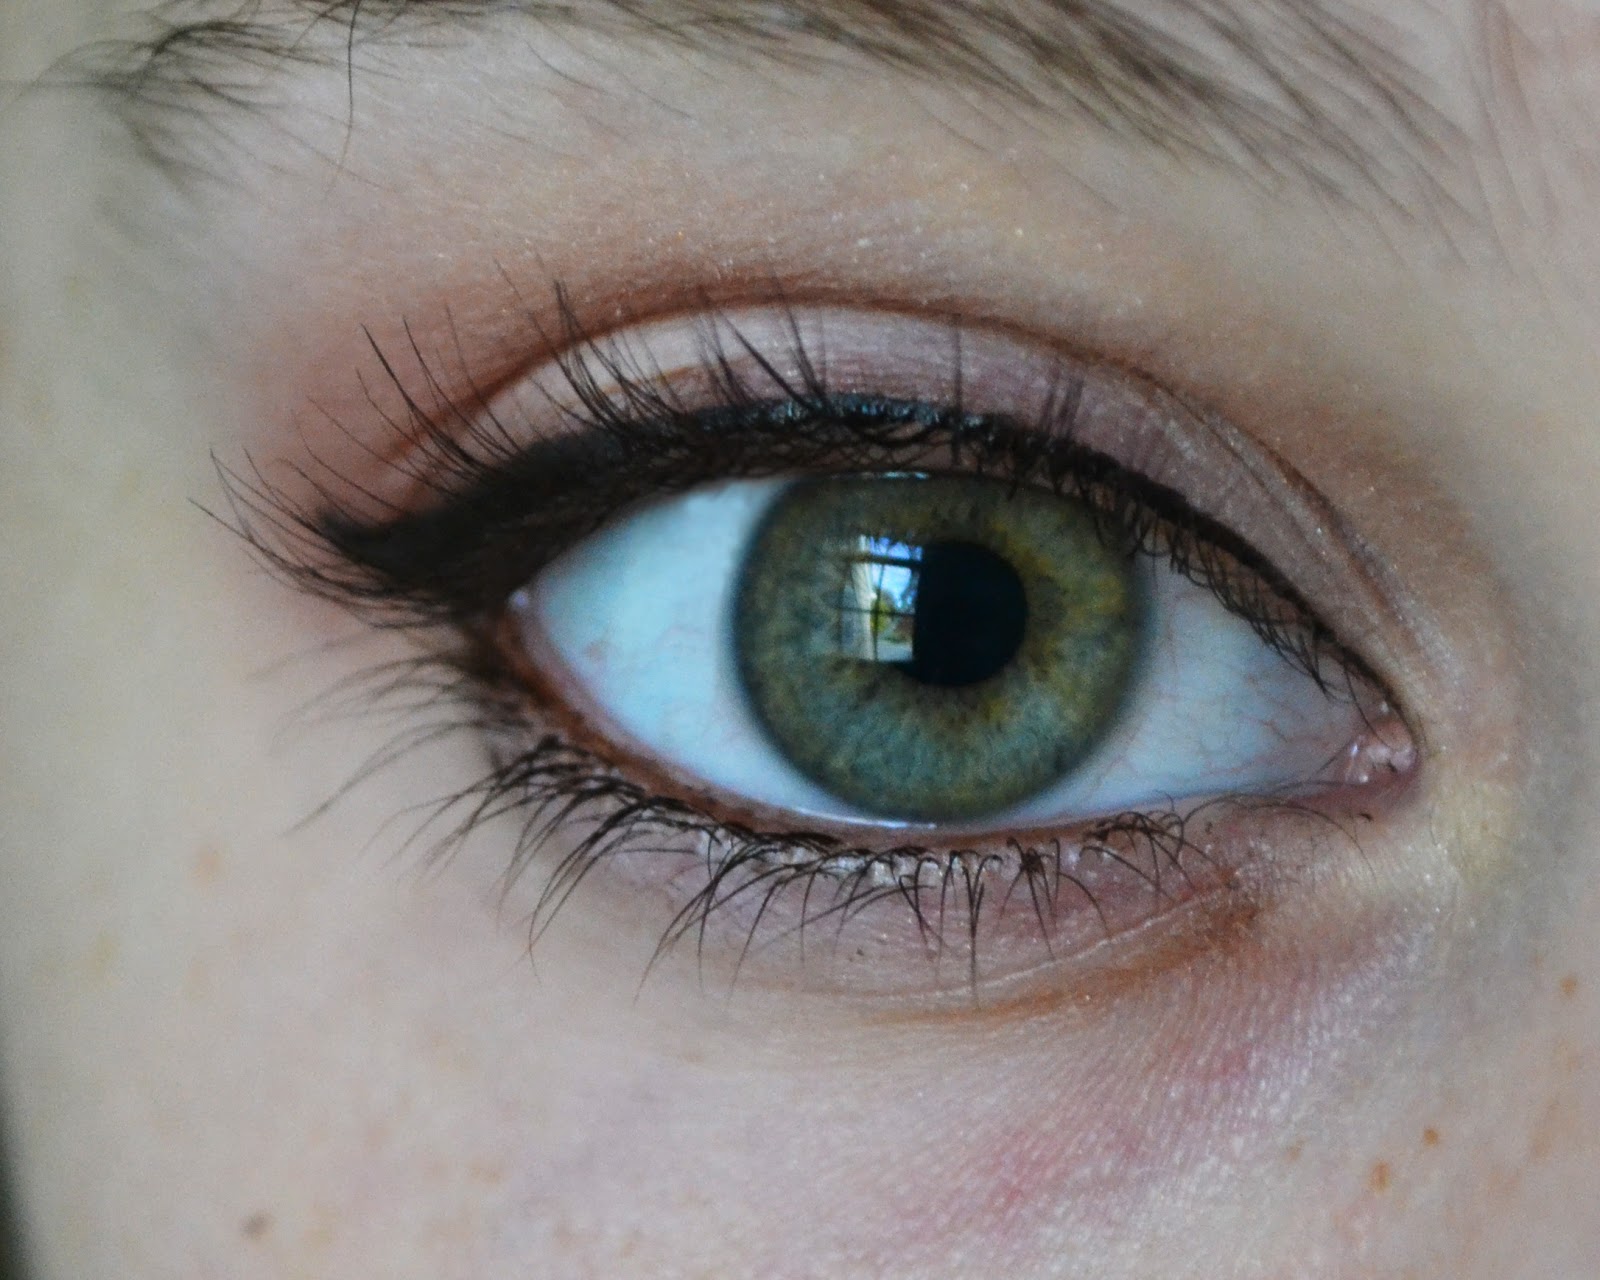
Voila! I'm done and ready to go downstairs for a bowl of Special K (that's my favorite cereal, by the way. Just the plain kind. I don't even add milk. Okay, I drink a glass of milk with it, but who wants to spoil that wonderful crunch with milk? Not me. What's your favorite cereal?).

I hope this maybe gave you an idea for what your everyday look could be! I certainly love it!
xo,
hannah

1.16.2013

on the coast of somewhere beautiful // makeup tutorial

currently listening to: On the Coast of Somewhere Beautiful by Kenny Chesney

Hellllooooooo everybody! I'm back with one of my favorite looks so far, and it's inspired by one of my favorite songs.
Every morning on the bus, I listen to the same playlist. I have been since last year around September. Same playlist every single morning. I've added a few songs and taken away a couple, but in general I fall asleep every morning on the bus to the same songs. Not a problem with me. In fact, I love it.
All the songs are country, the newest songs being a few select tracks from Taylor Swift's Album "Speak Now", and the oldest tracks coming from Alabama, Blackhawk, and other miscellaneous old-country artists that I grew up listening to.
This look is inspired by one of my favorite Kenny Chesney songs. Enjoy!

 step 1: prime your lids so your shadows will stay in place all day. I chose to use Lorac's Behind the Scenes Eye Primer
 step 2: Pat a shimmery light gold-champagne shadow all over your lid. I'm using my ring finger for this step because I found that it packs on the color best. All of the shadows I'm using in this look are from a Sephora limited edition makeup set.
 step 3: Sweep a matte brown shadow that's 2-3 shades darker than your skin tone into your crease.

 step 4: Pat a deep red/pink shadow on the outer third of your lid.


step 5: Make a "v" shape with a purple shadow in the outer third of you lid. Fade the shadow into your crease. Also, smudge the shadow onto the outer third of your lower lashline.

 step 6: Line your upper lashline with a deep plum pencil. I used Rimmel's Soft Kohl Kajal Eyeliner Pencil in Purple Passion.


 step 7: Line your waterline with the same pencil.

 step 8: Make ultra-thin line of black liquid liner on your top lashline. Winging it out is optional, but I didn't because of how colorful and dramatic the shadows are in the crease.

 step 9: Apply several coats of mascara. I've been using the Maybelline Volum' Express Mega Plush Mascara in Blackest Black.


step 10: Don't forget to highlight! I dabbed a bit of Wet n Wild's shadow pencil in pixie to brighten up my inner corner.

Finish off with a light, fresh pinky/plummy blush. I use Maybelline's Dream Mouse Blush in Soft Plum (yes, they're discontinued but I snagged two of them while they were on their final sale at CVS).


I hope you guys enjoyed this look, and if you'd like me to continue with looks inspired by songs on my playlist, comment and I'll pick another one to share!
(Also, sorry for some of the photos having poor lighting/being a bit pixelated. I had to shoot this in the late afternoon and there wasn't much daylight left :P)

xo,
hannah

11.18.2012

electro eyes // a review+tutorial

Today I bring you the Wet n Wild Idol Eyes Creme Shadow. I received the colors 'Graphite' (left) and 'Electro' (right) to review.
These retail for $1.99 and I must say they are totally worth the investing in. They glide onto the skin smooth and creamy, but will crease like crazy if you don't set them with a powder eyeshadow. That's really my only complaint! They are pigmented, smooth, and last as long as you need them to if you set them with eyeshadow.
All the shades in the line are frosty (from what I hear), and aside from these two colors I have two other ones, in "Pixie" and "Techno".
They have no fragrance whatsoever and are extremely light on the eyes. All in all an awesome product :)
From left-to-right: Electro, Graphite, and Pixie.
Here is a tutorial using "Electro". I had so much fun with this because I rarely use blue shadows and I don't think I've ever done a tutorial with blues, so enjooooy!

Step 1: Prime your eyelids. I'm using the original UD Primer Potion.

Step 2: Smudge "Electro" or any other blue cream shadow that you have onto your upper lashline and bring it about halfway into your lower lashline. Don't be too careful, just blend it a little if it's messy. Wing it out slightly, not too far.

 Step 3: Set the cream shadow with a blue powder shadow. This one is from the Coastal Scents 88 Original palette.

Step 4: Set the cream shadow on the lower lashline with a darker blue. This shadow also comes from the Coastal Scents palette

Step 5: Let's start adding warmth to this look! Smudge a copper shadow on the remaining half of your lower lashline.

Step 6: Apply a light shimmery color to your inner corner. This one is from the Physicians Formula Shimmer Strip palette for green eyes.

 Step 7: Draw a thin line of copper eyeliner on your upper lashline. Let it follow the wing of the shadow, but not all the way out.

Step 8: Line your waterline with that same copper eyeliner. This one is by Wet n Wild in 'Bronze'.

Step 9: Add mascara and guess what? You're done with ze eyes! (The mascara I used was Covergirl's LashPerfection in Blackest Black.)


Keep the rest of the face pretty neutral. After I did my foundation I actually used Milani's eyeshadow in 'Coffee Shop' for blush/contouring. It's a warm burgundy-rose color that's pretty dark so I used a light hand and applied it to the sides of my cheeks as well as my temples. For lips I just used NYX's xtreme lip creme in 'natural'.
Zat is it! (In case you couldn't tell, I was going for a French accent there)

Any requests for future tutorials? Leave a comment and I'll throw something together :)
xo,
hannah

10.23.2012

pretty in pink // a product review+tutorial

Wet n Wild's Color Icon Blusher in Pearlescent Pink has been one of my favorite blushes for a long time. I know I mentioned it a while back in one of my ancient "favorites" posts.

Wet n Wild Color Icon Blusher in 831E Pearlescent Pink.
Comes with 0.14 oz. Retails for $2.99 
As you can see, it has a nice peachy-pink color. The texture of this blush is smooth and rich, one of my all-time favorite powder blush textures. It doesn't have a whole lot of fallout and is best applied with a fluffy blush brush. But BE CAREFUL! This is one of the most pigmented blushes out there, if you are too generous while applying you will probably end up looking like you got an odd sunburn.
I really like the finish of this blush, because it's mostly matte, but has the slightest sheen to it. If applied correctly, it looks pretty natural.
The staying power of this varies. If I decide to wear a liquid foundation, it stays longer on top of that than my powder foundation. However, I get a solid 7 hours out of either, and after that it just depends.

Now, I have a tutorial. This tutorial includes my new favorite way to wear "Pearlescent Pink": on my eyes!

>>Chocolate-Covered Strawberries-A Tutorial<<

 Step 1: Prime prime prime your lids!


 Step 2: Sweep a matte cream shadow all over your lid.
Step 3: Apply a satiny pink into your crease. I (of course) used Pearlescent Pink :)

Step 4: smudge a brown pencil eyeliner into your top lashline

 Step 5: Blend out the eyeliner with a brown shadow. This gives a slight smoke-y effect

Step 6: Blend a slightly deeper pink into your outer crease

Step 7: Liner your waterline with brown eyeliner

Step 8: Apply dark brown liquid liner, winging it out

Step 9: Apply several coats of mascara

Step 10: Apply a highlight to your inner corner and you're done with the eyes!

Step 11: Go through your usual foundation routine and then sweep the same pink shade you used in your crease to your cheeks. Finish off with a tinted balm or lipstain.

Allllllll donee!

xo,
hannah