Showing posts with label eyes. Show all posts

4.21.2013

radioactive // a makeup tutorial


Remember when I did my first makeup tutorial inspired by a song here? Well, after being slightly obsessed with the song "Radioactive" by Imagine Dragons (don't ask me why, it just sparks a "revolution" feel within me, it speaks of strength) I decided to do one for this song too. I knew I had so many different options for this makeup, whether it was loud and colorful and bold, or a grungy, dark smokey eye.
But I wanted it to be wearable for everyday, so I decided on a slightly minimalistic, sleek, and yet still eye-catching look.

•••RADIOACTIVE•••
Products Used:
Lorac Behind the Scenes Eye Primer
L'Oreal Infallible 24 Hour Eyeshadow in Iced Latte
Wet n Wild Mega Liquid Liner in Black
Madison Street Beauty Mineral Eyeshadow in Gold Leaf
Maybelline Volume Express Mega Plush Mascara in Black
Coastal Scents 88 Original Eye Palette (for brow powder)
L'Oreal True Match Super Blendable Crayon Concealer in Fair/Light N1-2-3
M.A.C. Studio Careblend Pressed Powder in Light
Physicians Formula Organic Wear Natural Origin 2-in-1 Bronzer & Blush

 Of course, start with a clean face!

step 1: Prime your eyelids

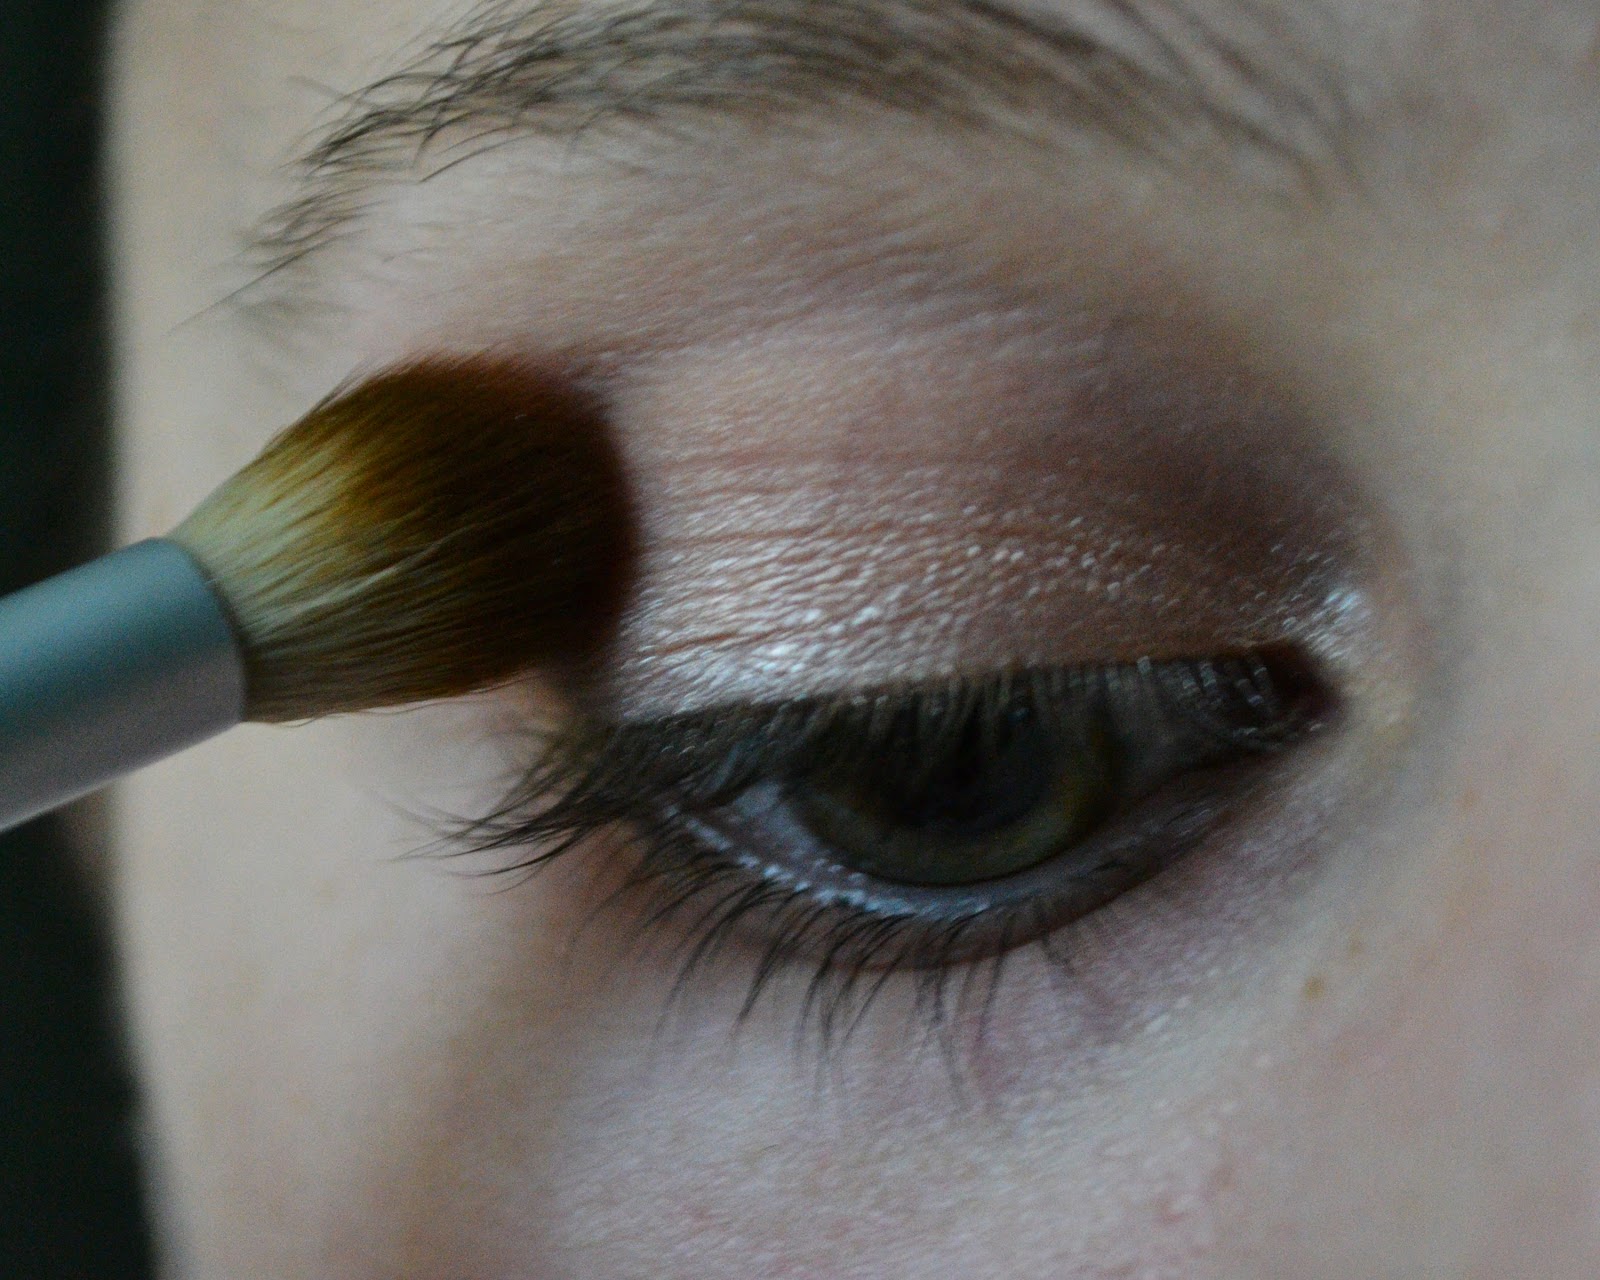
step 2: Pack a cream-colored shimmery shadow on your whole lids

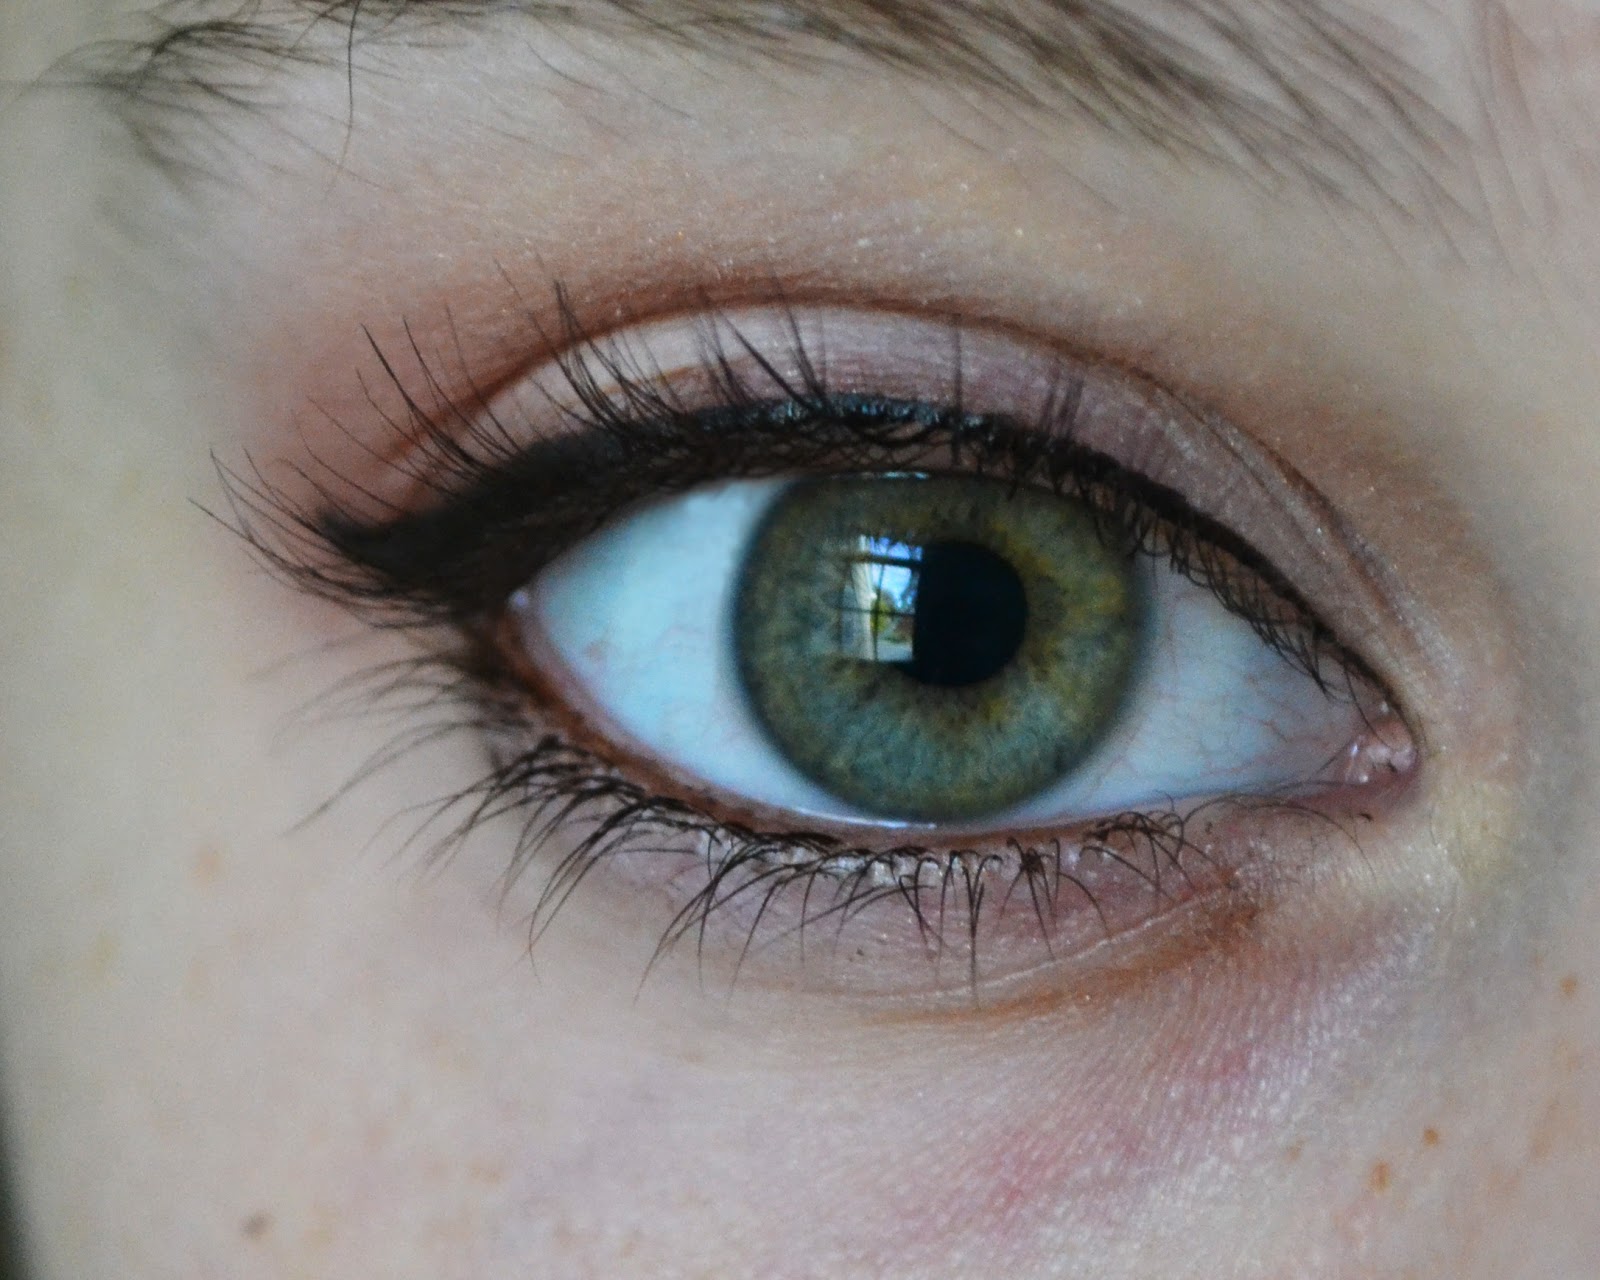
step 3: Do a thin cat-eye with black liquid liner on your upper lashline


step 4: Taking a gold metallic shadow or liquid liner, draw a thin line with it above the black one. I used a mineral shadow and wet it down to turn it into a liquid liner.

step 5: Finish off the eye look with generously coating your upper and lower lashes with black mascara. See, I told you it was pretty minimalistic!


step 6 (optional, but recommended): Fill in your brows with a powder that's 2-3 shades lighter than your actual brows. (Yes, I know, I'm in desperate need of an eyebrow grooming :/)

I covered up any blemishes with concealer and then set it with powder. Then I just used a light peach blush on my cheeks to go along with the warm tones of the gold on my eyes.

Seriously guys, LISTEN TO THIS SONG. It is uh-maze-ing. I even made a post about it yesterday. Yep, this song is being featured on the blog twice. Big. Deal. And did I mention that I literally listened to it 17 times while making this post? 17 times.

What's your favorite song as of late?

xo,
hannah

2.13.2013

everyday // a makeup tutorial

Despite the many tutorials I post on this blog, I really only use them for special occasions. I have not yet shown you my simple, everyday makeup. It's nothing special-as I said, it's pretty simple. But I think it will look nice on anyone and I'm excited to share it with you!

Products Used:
Tarte Amazonian Clay Waterproof Cream Eyeshadow in Seashell Pink
M•A•C Eyeshadow single in All That Glitters
Wet n Wild Mega Liner Liquid Liner in Black
Wet n Wild Idol Eyes Creme Shadow in Pixie
Wet n Wild Mega Volume Mascara
Maybelline Mega Plush Mascara
L.A. Colors Auto Eyeliner Pencil in Black/Brown
Wet n Wild Cover All Liquid Concealer Wand in Fair
Maybelline Dream Mousse Blush in Soft Plum (discontinued)

Alrighty, start off with a clean face!


First, I use a cream eyeshadow to prime my lids. If I'm in a hurry, I just slap this on my eyes, throw on some mascara and go, but I'll show you the long version ;) I really like this shadow because it's a pale pink-y color (though it looks orange-y here) and really complements my green eyes.

Next, I'll set that cream shadow with All That Glitters.


Then, using either a liquid or gel liner, I line my top lid. Typically I'll wing it out so it adds a little definition to my eyes.
Highlighting comes next! I can just dab a little highlight into my inner tear duct area and it helps brighten up my sleepy morning-eyes ;)
I actually use two mascaras. I'll start out with the Maybelline one to give length, then I'll build up volume with the wet n wild one.
Next come my neglected-for-much-too-long eyebrows. I never used to do my brows, but I find it really helps finish the look, especially when I'm wearing pretty minimal makeup. I start by combing them out...
...then I'll use a pretty dark pencil to lightly fill them in. Then I'll comb over them again to shape them.

Gorgeous, right? ;)

I'll finish off my face with concealer and a cream blush.


Voila! I'm done and ready to go downstairs for a bowl of Special K (that's my favorite cereal, by the way. Just the plain kind. I don't even add milk. Okay, I drink a glass of milk with it, but who wants to spoil that wonderful crunch with milk? Not me. What's your favorite cereal?).

I hope this maybe gave you an idea for what your everyday look could be! I certainly love it!
xo,
hannah
1.16.2013

on the coast of somewhere beautiful // makeup tutorial

currently listening to: On the Coast of Somewhere Beautiful by Kenny Chesney

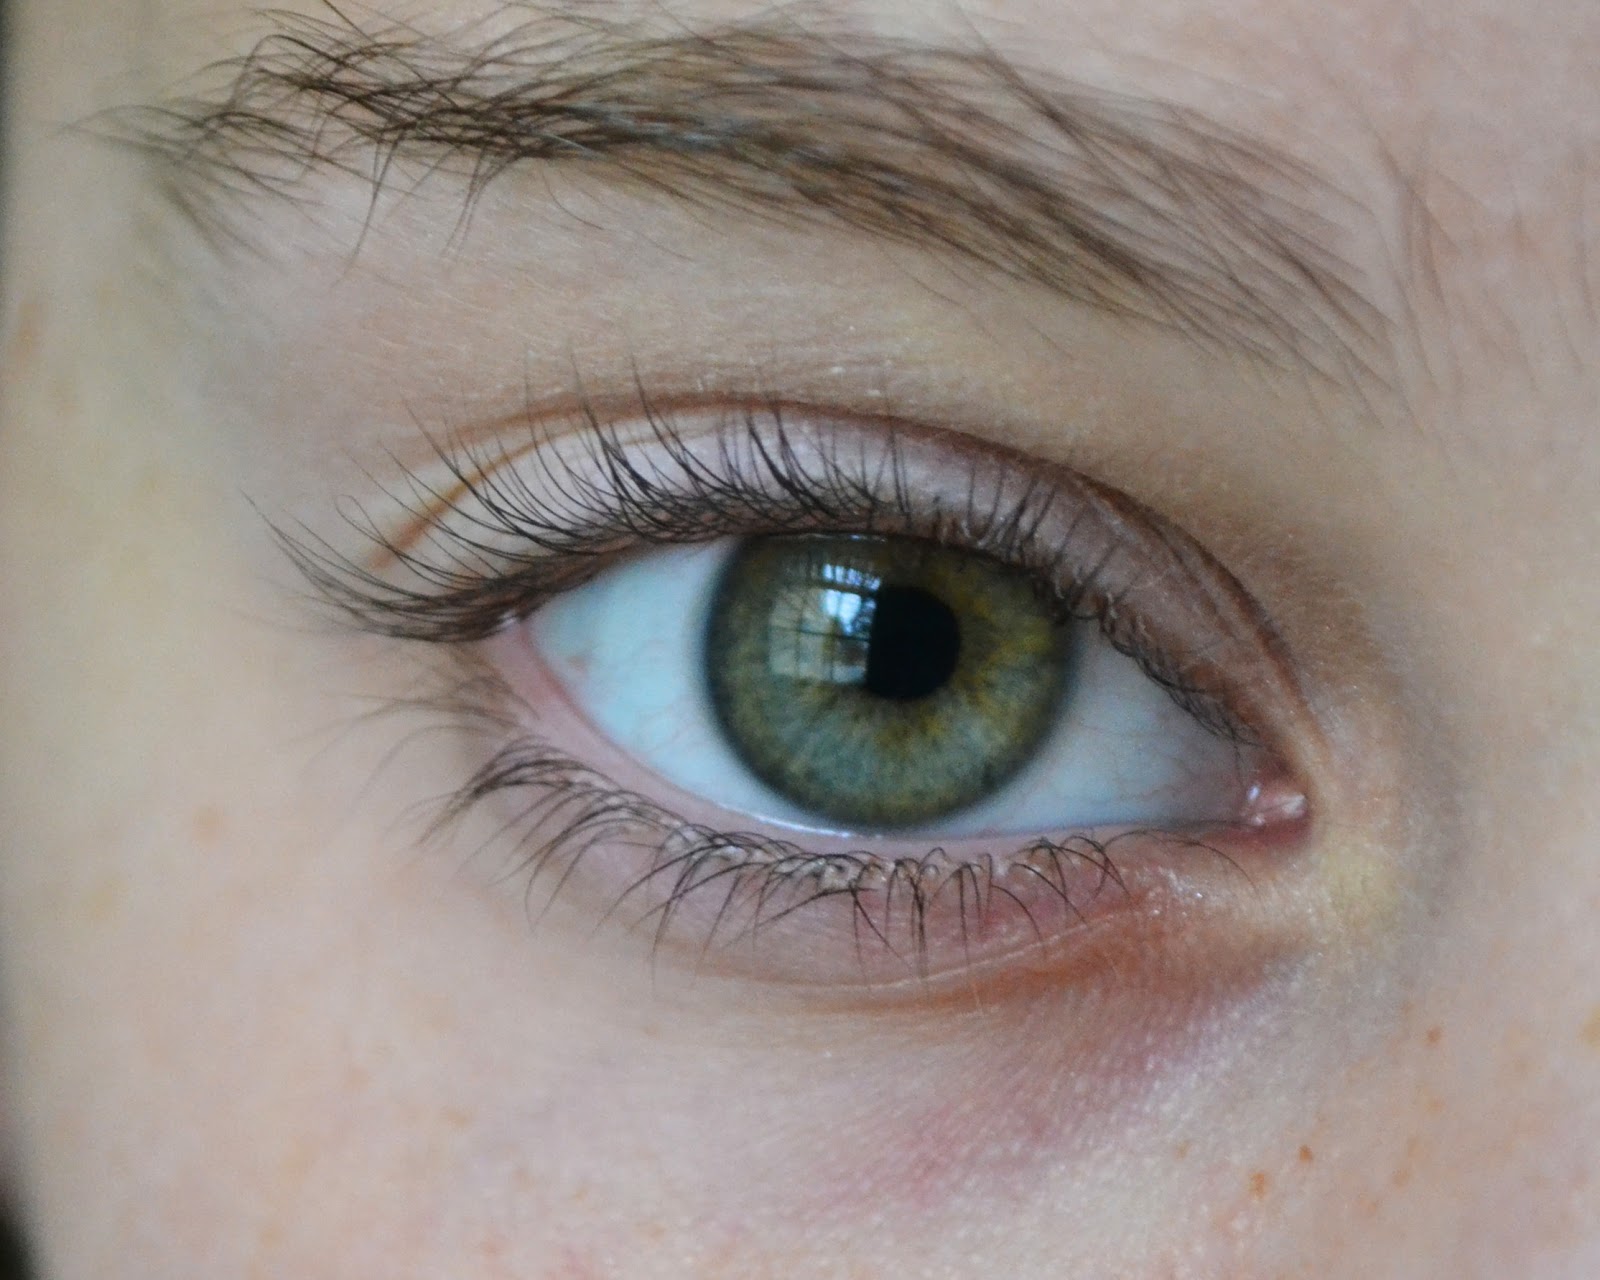
Hellllooooooo everybody! I'm back with one of my favorite looks so far, and it's inspired by one of my favorite songs.
Every morning on the bus, I listen to the same playlist. I have been since last year around September. Same playlist every single morning. I've added a few songs and taken away a couple, but in general I fall asleep every morning on the bus to the same songs. Not a problem with me. In fact, I love it.
All the songs are country, the newest songs being a few select tracks from Taylor Swift's Album "Speak Now", and the oldest tracks coming from Alabama, Blackhawk, and other miscellaneous old-country artists that I grew up listening to.
This look is inspired by one of my favorite Kenny Chesney songs. Enjoy!

 step 1: prime your lids so your shadows will stay in place all day. I chose to use Lorac's Behind the Scenes Eye Primer
 step 2: Pat a shimmery light gold-champagne shadow all over your lid. I'm using my ring finger for this step because I found that it packs on the color best. All of the shadows I'm using in this look are from a Sephora limited edition makeup set.
 step 3: Sweep a matte brown shadow that's 2-3 shades darker than your skin tone into your crease.

 step 4: Pat a deep red/pink shadow on the outer third of your lid.


step 5: Make a "v" shape with a purple shadow in the outer third of you lid. Fade the shadow into your crease. Also, smudge the shadow onto the outer third of your lower lashline.

 step 6: Line your upper lashline with a deep plum pencil. I used Rimmel's Soft Kohl Kajal Eyeliner Pencil in Purple Passion.


 step 7: Line your waterline with the same pencil.

 step 8: Make ultra-thin line of black liquid liner on your top lashline. Winging it out is optional, but I didn't because of how colorful and dramatic the shadows are in the crease.

 step 9: Apply several coats of mascara. I've been using the Maybelline Volum' Express Mega Plush Mascara in Blackest Black.


step 10: Don't forget to highlight! I dabbed a bit of Wet n Wild's shadow pencil in pixie to brighten up my inner corner.

Finish off with a light, fresh pinky/plummy blush. I use Maybelline's Dream Mouse Blush in Soft Plum (yes, they're discontinued but I snagged two of them while they were on their final sale at CVS).


I hope you guys enjoyed this look, and if you'd like me to continue with looks inspired by songs on my playlist, comment and I'll pick another one to share!
(Also, sorry for some of the photos having poor lighting/being a bit pixelated. I had to shoot this in the late afternoon and there wasn't much daylight left :P)

xo,
hannah

10.23.2012

pretty in pink // a product review+tutorial

Wet n Wild's Color Icon Blusher in Pearlescent Pink has been one of my favorite blushes for a long time. I know I mentioned it a while back in one of my ancient "favorites" posts.

Wet n Wild Color Icon Blusher in 831E Pearlescent Pink.
Comes with 0.14 oz. Retails for $2.99 
As you can see, it has a nice peachy-pink color. The texture of this blush is smooth and rich, one of my all-time favorite powder blush textures. It doesn't have a whole lot of fallout and is best applied with a fluffy blush brush. But BE CAREFUL! This is one of the most pigmented blushes out there, if you are too generous while applying you will probably end up looking like you got an odd sunburn.
I really like the finish of this blush, because it's mostly matte, but has the slightest sheen to it. If applied correctly, it looks pretty natural.
The staying power of this varies. If I decide to wear a liquid foundation, it stays longer on top of that than my powder foundation. However, I get a solid 7 hours out of either, and after that it just depends.

Now, I have a tutorial. This tutorial includes my new favorite way to wear "Pearlescent Pink": on my eyes!

>>Chocolate-Covered Strawberries-A Tutorial<<

 Step 1: Prime prime prime your lids!


 Step 2: Sweep a matte cream shadow all over your lid.
Step 3: Apply a satiny pink into your crease. I (of course) used Pearlescent Pink :)

Step 4: smudge a brown pencil eyeliner into your top lashline

 Step 5: Blend out the eyeliner with a brown shadow. This gives a slight smoke-y effect

Step 6: Blend a slightly deeper pink into your outer crease

Step 7: Liner your waterline with brown eyeliner

Step 8: Apply dark brown liquid liner, winging it out

Step 9: Apply several coats of mascara

Step 10: Apply a highlight to your inner corner and you're done with the eyes!

Step 11: Go through your usual foundation routine and then sweep the same pink shade you used in your crease to your cheeks. Finish off with a tinted balm or lipstain.

Allllllll donee!

xo,
hannah
9.18.2012

define your eye || gel eyeliner review+tutorial

No, I have not fallen off the face of the earth. I have been overloaded with homework and tennis. I guess it's a typical "beginning-of-the-school-year" thing, but to be honest, it's quite annoying. Anywho, I'm so glad I'm finally back and writing a post.

Today I'm going to be reviewing wet n wild's creme eyeliner in 886 Black.


In general, I like this eyeliner. Some people have compared it to MAC fluidline, but since I've never gotten my hands on that product I can't tell you you how it compares.
It's very black, and it definitely defines your eye nicely, but.... I don't know. It seems to dry out somewhat quickly.
It lasts all day, including through 5 hours of playing sweaty tennis matches. Since my eye isn't necessarily oily it didn't slide around at all.
It retails for $3.99 and comes with .13oz of product PLUS an angled eyeliner brush.

So here are the overall pros and cons:

Pros:

-Very black
-Stays for a solid 12 hours
-Sweat-proof ;)
-Easy to work with
-No funky scent
-VERY reasonably priced

Cons:

-Product dries out in pot pretty quickly
-Doesn't come in more colors


Here's a quick look that brightens and defines the eye using this eyeliner:

As always, prime your lids first. Then sweep a light cream-white eyeshadow all over your lid up to your brow-bone.

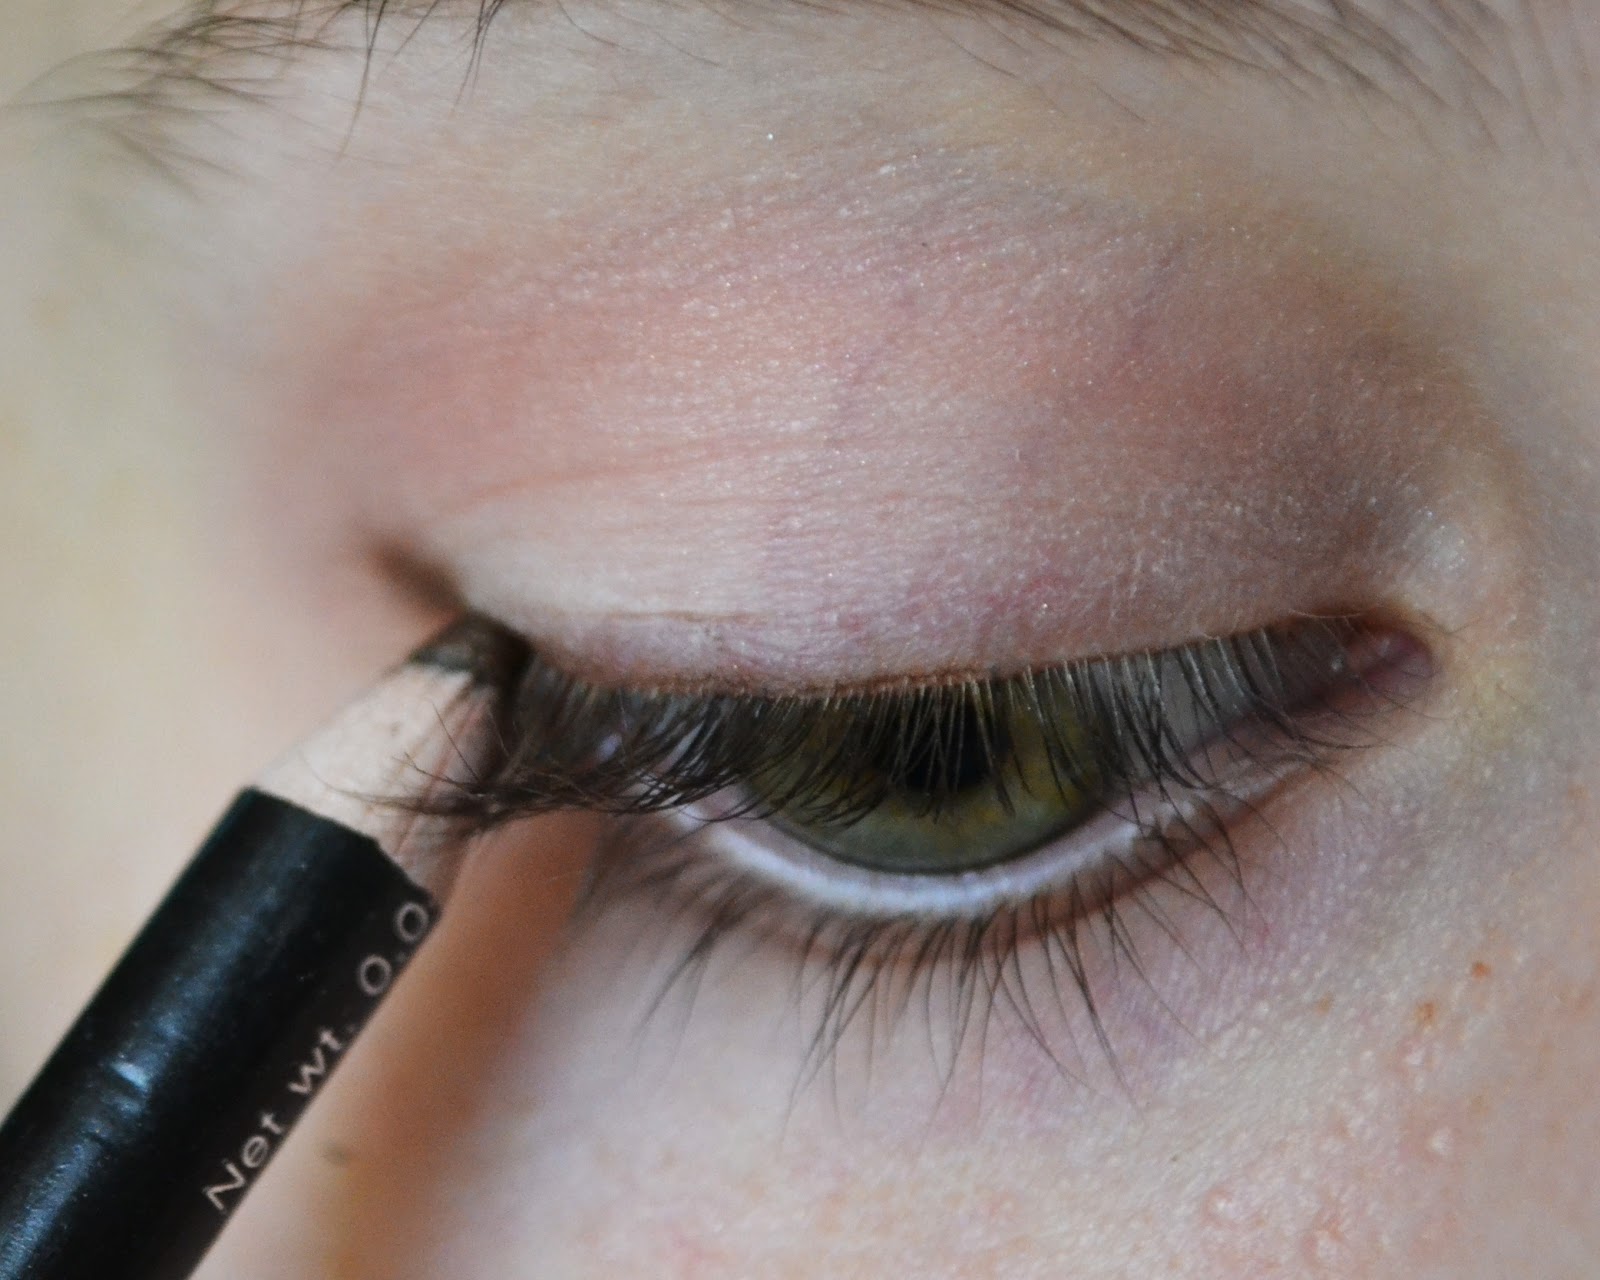
Next, clean your waterline with a q-tip. This prepares it for eyeliner and gets rid of all the oils, which makes the liner last longer. Line your waterline lightly with white eyeliner


Brush a medium-matte shadow into the outer half of your crease.


Smudge a shimmery brick red/burgundy eyeshadow onto your upper and lower lashlines.

                                                              
With the same white eyeliner you used to line your waterline, highlight the inner-corner of your eye.


Line your upper lashline with black creme liner, winging it out slightly. Then apply mascara and you're done!


Hope you guys liked this! Hopefully once the highschool tennis season slows down I'll be able to post more :)

xo,
hannah